I’m a big advocate for the Raspberry Pi. There are numerous projects and applications that make this single-board computer a great value and worth your while should you find an application that can meet your needs. The Raspberry Pi can be setup for video surveillance, home automation, network security (DNS filter, VPN server), or as a very very very basic computer for general web surfing or media streaming – the list goes on. In this post, I’ll be going through the steps needed to setup and configure a Raspberry Pi. This is a basic guide, which will only get you off the ground until you find a role/purpose for the device (for me, it’s network security), but chances are, if your reading this, you already have something in mind. I’ve contemplated creating a post such as this, since there are already numerous other posts covering this topic, but thought I’d start a series of posts surrounding the device and getting back to basics simply made sense – lets begin!
In this guide, we will be working with the Raspberry Pi 3 B+ (at the time of the writing, it is the latest and greatest… POE support WooHoo!). I strongly recommend that you use a quality (reliable branded) micro SD card – I’m using a Sandisk Ultra 16GB Micro SDHC UHS-I card. A micro SD card to USB adapter may also be required. We will be using Etcher to image Raspbian Stretch Lite (the operating system) to the micro SD card to create a headless setup, so we won’t have a monitor, keyboard, or mouse directly attached to the Raspberry Pi. Instead, we will SSH (using PuTTy – I’m a Windows user) directly to the device to perform all necessary configurations. Also, It may or may not be important, but for the sake of being detailed – all network connectivity will be via Ethernet and NOT WiFi. WiFi adds another layer of security to worry about, which is a layer that can be easily removed.
Installing Raspbian
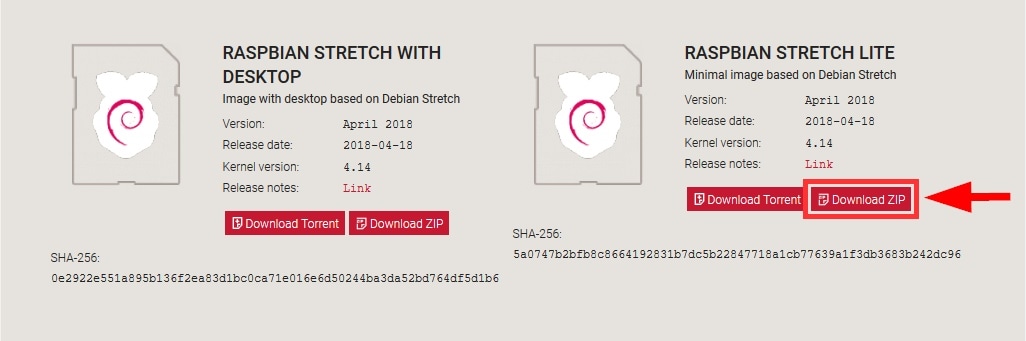
First, download Raspbian. I chose to download the zipped image (e.g. 2018-04-18-raspbian-stretch-lite.zip). After the downloading the zipped image, do not extract the image, we are going to leave the file as is since Etcher won’t have any trouble writing the zipped image to the micro SD card. If you find yourself in a situation where you need access to a previous version of Raspbian Lite, additional images can be found here: https://downloads.raspberrypi.org/raspbian_lite/images/.
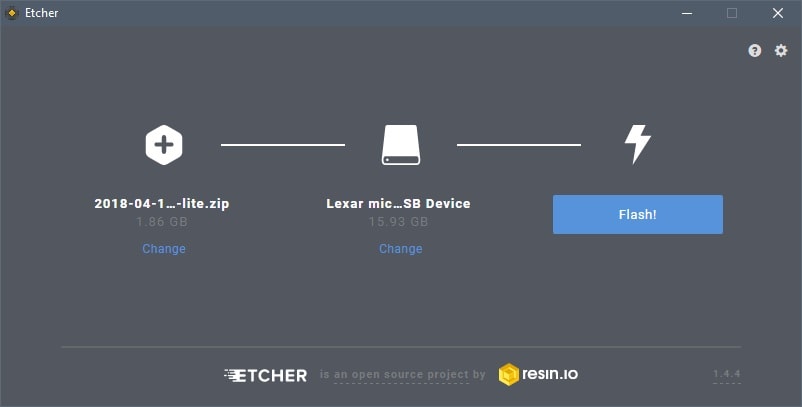
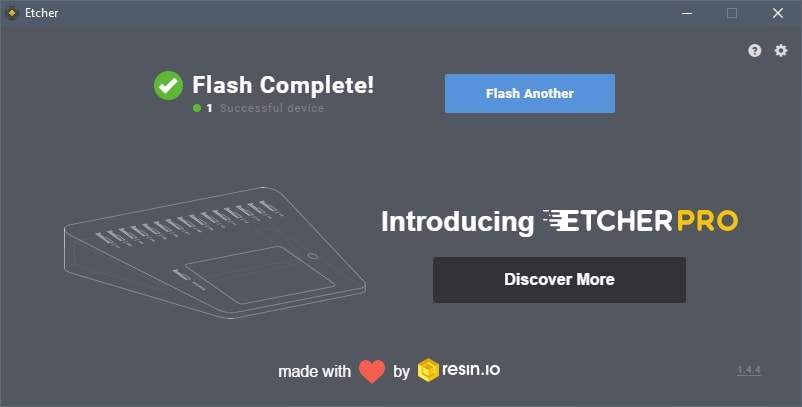
Next, download and install Etcher. We will be using Etcher to write the image file to the micro SD card. Launch Etcher, select the zipped Raspbian image, then select the micro SD card you will be writing the image to and click Flash!
Afterwards, create a blank text file named SSH, remove the .txt extension and make sure the file exists on the root of the micro SD card. This will enable SSH in Raspbian for remote access via PuTTy. Now install the micro SD card and connect the Ethernet cable and/or power cable into the Raspberry Pi.
Configuring Raspbian
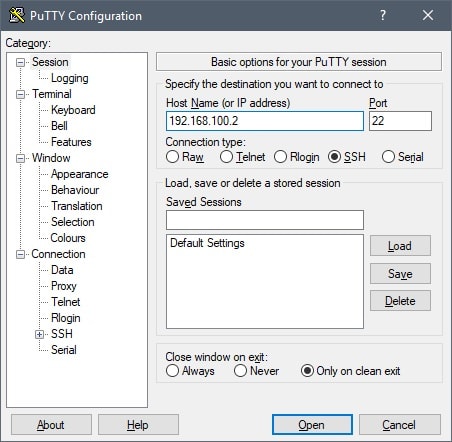
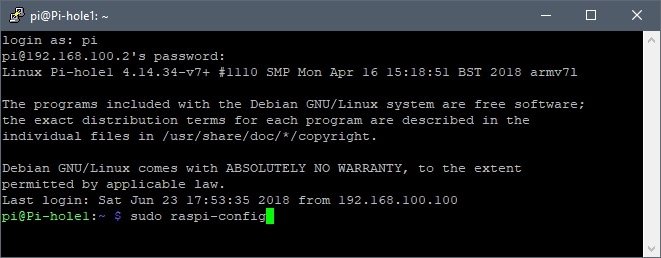
Now that the Raspberry Pi is powered-on, identify the IP address of the Raspberry Pi. If your using DHCP on your network you should be able to find the assigned IP address of the Raspberry Pi as a DHCP lease in your router or server. Download, install, and launch PuTTy to SSH to the Raspberry Pi’s IP address (e.g. 192.168.100.2).
Use the default credentials for Raspbian (User: pi Password: raspberry) to login. After successfully logging in, you will need to access the Raspberry Pi’s Software Configuration Tool by entering the “sudo raspi-config” command in the terminal window as shown below. The changes you make in the Raspberry Pi Software Configuration Tool (Raspi-Config) are at your discretion. However, I will provide a general outline of changes that I generally follow.
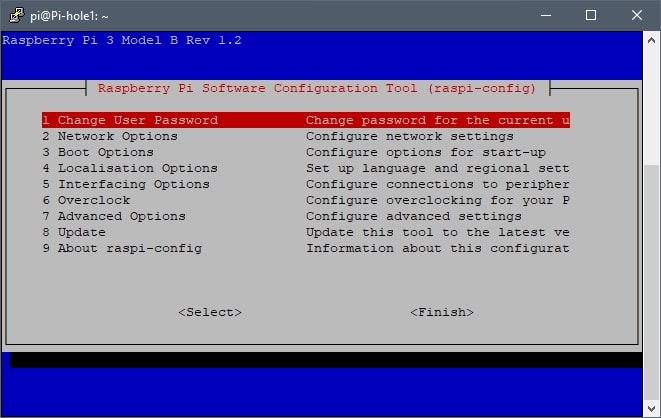
Now that you’ve made it this far, I’d like to point out the importance of the “Expand Filesystem” option mentioned below. If you were paying close attention, after writing the Raspbian image to the micro SD card, you may have noticed that the total capacity of the micro SD card shrunk drastically. The filesystem in the default Raspbian image only occupies a portion of the micro SD card, this explains the shrunken capacity. The configuration option “Expand Filesystem” allows Raspbian to use the total storage capacity of the micro SD card. The command “df -h” will allow you to view the total available capacity of the micro SD card. For verification/comparison, the command can be ran before and after you’ve expanded expanded the filesystem.
The following is a general outline of configurations that I may modify in the Raspi-Config Tool prior to installing applications. Updating these configurations should suit the majority of the users and at the very least, provide a good starting point. However, make the necessary changes that best suits your environment.
- Change User Password
- Network Options > Hostname
- Localization Options > Change Locale
- Localization Options > Change Timezone
- Localization Options > Change Keyboard Layout
- Localization Options > Change Wi-fi Country
- Advanced Options > Expand Filesystem
- Update
After updating the configurations, you are ready to install the application of your choice. Later, I’ll be covering the installation applications/services for the Raspberry Pi, such as Pi-hole and PiVP, which are currently in production in my home lab.